Thursday, June 28, 2012

Zucchini Soup


Summer squash is here! I set my seeds out on the central coast April 15th and 
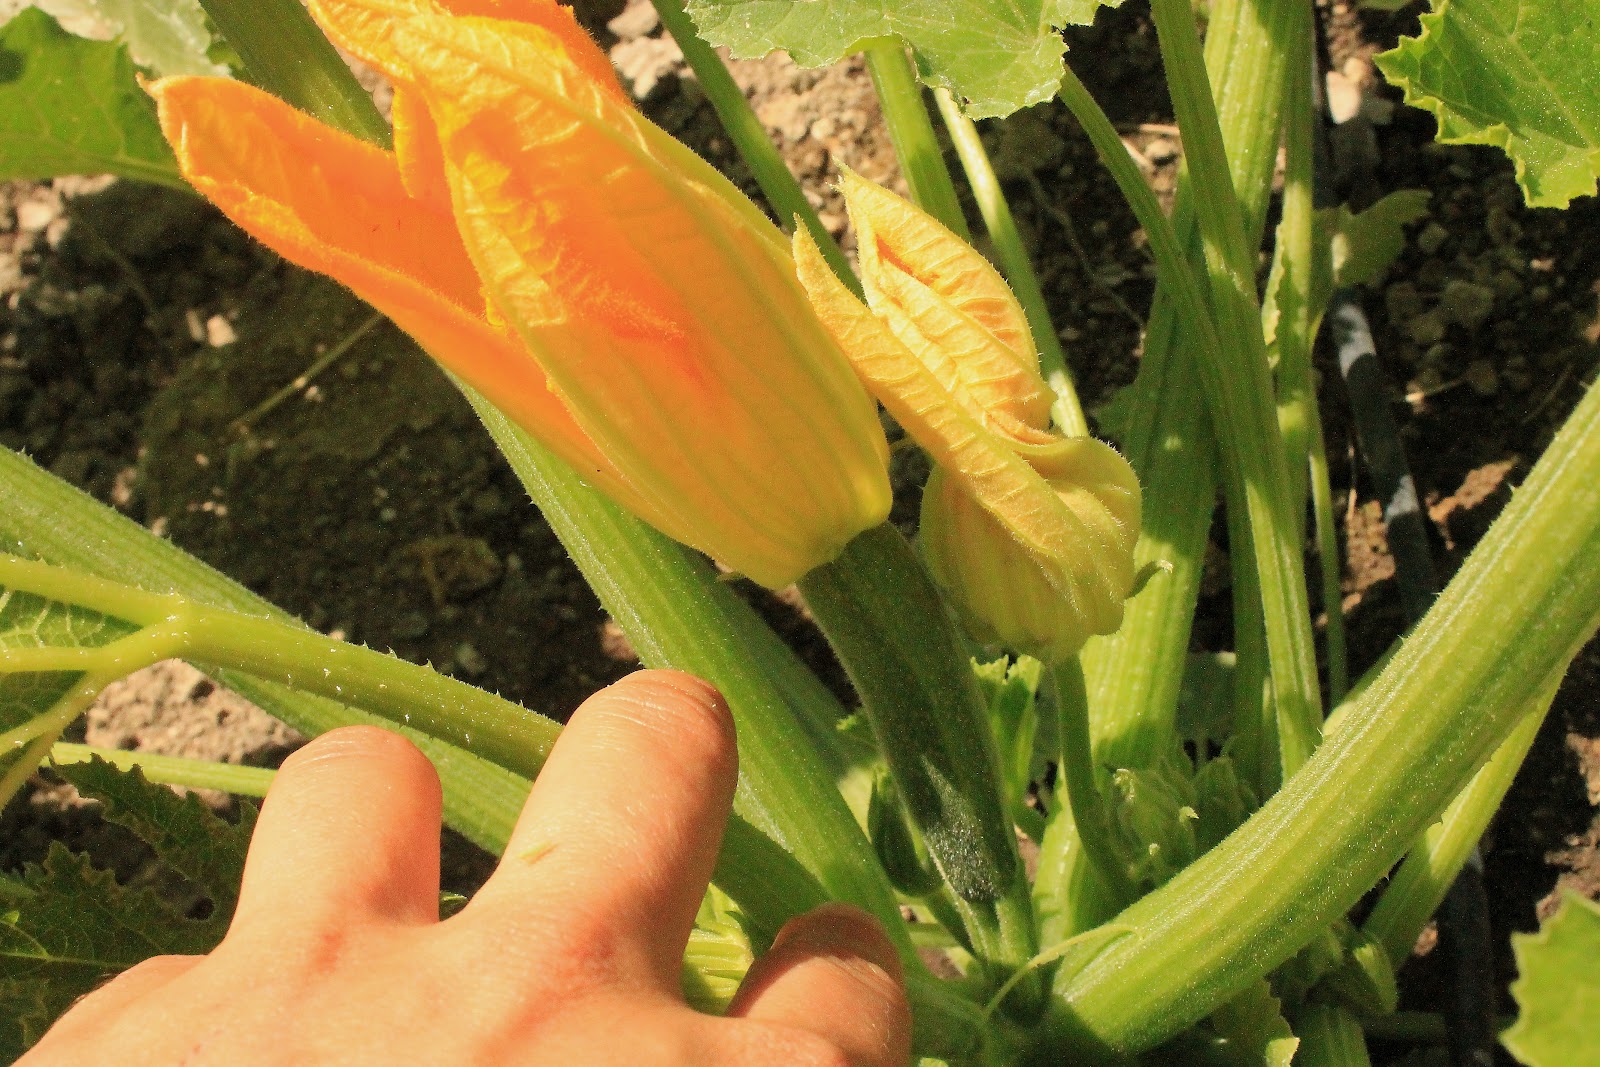
started harvesting June 15th. I have 30 zucchini plants and I am picking about a pound a day which is about 3 zucchinis for me. Wow, I didn't think they would grow so fast and produce so much! What a great crop for me, a beginning gardener, and gophers seem to leave them alone. We have a huge gopher problem here. So far they have taken two pumpkin plants and a jalapeño plant. They must have been hungry to have taken a jalapeño plant! J What I've been doing to stop them from returning is putting sturdy rose bush clippings in the holes. Supposedly, their wounds don't heal very well. I guess you can visualize the picture.  I know this sounds a bit cruel, but hey, I could be like my neighbor and shove water down the hole and wait until the gopher pops up from another hole and shovel it. Yikes! I hope I don’t have to result to that. Not saying I have anything against it, because, hey, plants have lives too! I truly morn for my plants when I see them wilt or die after those darn gophers eat the roots. But, I do have to say, they stay clear away from my garden beds once I fill their holes with rose bush clippings. And about a month later I see holes again; I fill the holes again with clipping. I think it’s the next litter that is out to get my garden.  You may be thinking why didn't you just cage in your planting area? Or, use planter boxes! I tried to do the caging in thing and in the middle of digging huge trenches and trying to lay down chicken wire that would not stay in place; I gave up and just throw the dirt back down and planted some seeds. Planter boxes can be costly and that was out of the question since we are renting. But, I have these tree boxes that I purchase for 25 bucks each that I cut in half and put chicken wire on the bottom of. For a total of about 12 dollars I have a 4 square foot and 2 feet deep cedar mobile planter box. I have 12 of those. That’s where I have my lettuce and tomatoes. Lettuce and leafy greens I would say never plant in the ground without protection. Every animal will eat those tasty veggies.
Zucchini is one of my favorite veggies. You can put them in stir-fry’s and casseroles and even make noodles out of them. One thing you can’t or I should say I can’t do, is eat them raw. They don’t have a great after taste to me when eaten raw. If you have a recipe for raw zucchini that you think I would like, or any other recipe for zucchini, please leave me a comment with your recipe. I would love to hear what you like to do with zucchini!

 It’s been about 75-85 degrees her, and it gets in the low 50’s at night. Eating nice potassium rich zucchini soup sitting on the porch in the evening is ideal for me. This is my favorite thing to eat when I am starting to get headaches from the dry heat. Just one medium 7 ounce zucchini has 700 mg of potassium and only 3 grams of sugar. That is insane! C2O coconut water has that much potassium in the entire can with 26 grams of sugar. So yes, you can find electrolytes in veggies too, if not more. In comparisons of 100 grams of C2O coconut water vs. zucchini, zucchini has more magnesium, 6 times more vitamin C and, pretty much more of every vitamin and mineral found in coconut water.

Let’s eat Soup! I like mine slightly warm with parmesan or goat cheese sprinkled on top and sometimes a little fresh cilantro or parsley. Yum. Simple and easy. Just the way I like my food! 

Ingredients:


4 cups of chicken stock (salted with sea salt)

1.5 pounds of zucchini or about 8 cups sliced

1 medium onion chopped

3 tbsp of olive oil

2 tbsp of butter

 Directions

Sauté the onions with the olive oil until they are caramelized. Add the chicken stock and zucchini. Cover and let simmer for 20 minutes or until the zucchini is tender. Turn off the burner and let sit until it reaches room temperature. Puree 2/3 of zucchini and broth in the blender with 2 tbsp of butter. Add back to the pot with the rest of the zucchini. Stir, heat and serve. 


caramelize the onions
8 cups of zucchini sliced or 1.5 pounds

Place the sliced zucchini in the pot with the stock and simmer for 20 minutes  until the zucchini is tender .

Pin It Now!

Friday, June 15, 2012

How to Cook Squash Blossoms


 Oh my, these are incredibly delicious. I'll admit I was a little skeptical to eat a flower at first, but after frying them up and taking one bite, I immediately shoved the rest in my mouth. These are so good! After I picked the blossoms and showed my son's what I was going to cook for a snack, they said ewwww, no mom. Yuk! Of course, after I fried them up they wanted to try them and sure enough they where begging for more.
 These squash blossoms tasted so lovely. When I took a bite I had a pop and burst of cheese in my mouth. Oh yes! Now I will be going back outside to pick some more.


How to tell the difference between a male and female squash flower?
Why, eat the male and leave the female to fruit.


Squash Blossoms

Female squash blossoms usually grow close to the center of the plant. Check the base of the flower where the blossom meets the stem. Female squash blossoms have a small swollen embryonic fruit at their base which will grow into a squash.

Male squash blossoms are showier and they tend to hang out on long stem all over the plant. There are more male blossoms then female, and they show up first so like me you may leave a bunch in the beginning thinking they were female.


The left one, with the mini squash, is the female. The one on the right, with the stem, is the male


Here are some males I picked

It’s easy to tell the difference, the male will always be on a stem and the female will have a mini squash on it and it will be close to the base.


Gathering the male blooms in the middle of the day is the best time to collect your blossoms.
Squash blossoms may be eaten raw or cooked. Harvest of the male blossoms leaves female flowers on the plant to form fruits; be careful not to collect all of the male blooms, as their pollen is required to fertilize the female flowers. The blooms of any variety of summer or winter squash may be eaten along with the stem.
Both female and male blossoms are edible.

Storing blooms in a bowl of ice water in the refrigerator. Use within two days.

Only female blossoms produce fruit. All winter squash and summer squash including: zucchini, yellow, cork neck, butternut, spaghetti, pumpkins and gourd blooms are edible.


How and When to Pick Zucchini
Once your squash reach 6-12 inches they are ready to be pick. Earlier is ok too. Give them a 180 twist and they should pop off. Keeping in mind, the little part of the stem on the top of the squash, if kept on, will help to preserve it. If you twist your squash off and the left over stem breaks off, no worries, it will just wilt sooner so cook them in the next day or two.


How to cook a squash blossom

 Wash by gently opening up the flower and remove any dirt, bugs and the stamen (this is the little pollen in the middle of the flower it is edible but bitter) you can also leave the stems on if you'd like. They are also edible.

Ingredients:

4-6 squash blossoms

Pancake batter of chose (I use one egg to1/4 of almond flour and a pinch of salt)

 Herb goat cheese

Chives

Olive oil


In a small bowl combine the pancake batter or one egg, 1/4 cup of almond flour, and a pinch of salt

In another bowl combine about 6 tbsp of herb goat cheese (you want about 1 tbsp for each blossom) and 1 tbsp of chopped chives. No need to measure just eye ball it. And mix around with a utensil.

Heat a skillet on medium heat (lower then smoke point but high enough to crisp the blossoms) with a generous about of olive oil. I use about 1/4 cup.

Stuff the base of the blossoms with 1 tbsp of the herb goat cheese and give a soft twist to the petals to close off the blossom. Then dip the blossom in your pancake batter and place on your warmed skillet. Once the edges start to brown turn and cook the other side for a few minutes. Make sure your oil is not to hot were it reaches a smoking point because the oil will give off unpleasant flavors.
Pin It Now!

Thursday, June 7, 2012

Sunflower Butter Treats (vegan)


         It’s around 3 o’clock and I hear the boys running to the kitchen yelling, “Banana pop momma!” (Recipe to come) I look in the freezer and then I take a quick half full breath. I think ok, the organic bananas won’t be ripe for a few more days and another 4 hours at least to freeze… then I open the cabinet that the boys are now opening and slamming shut, and look around. Then I begin to think, dried peas? No, too long to make, dried fruit? No, where’s the protein? Then I see sunflower butter. And then I remember my sister in law gave me a recipe for no bake peanut butter balls. I thought about it…I could just sub ingredients for what I have on hand. After the quick thought I ask my son, “Do you want to help?” With wide eyes he says, “Of course mommy.” Then I say, “ok, open up the cabinet you’re standing in front of, and on the bottom shelf is a mixing bowl, grab it please. Then get a chair so you can reach the counter top.” While he is on his mission, I put the baby in her high chair with some teething toys. Then I grabbed my other son's favorite coloring book with some crayons and told him to go to town on the floor of the kitchen. “Ok… we can do this!” I say out loud, I think?
            Next, I grab my almond meal, coconut flour, sweetener, sun butter, and a big spoon. "OH yes! This is going to be so blog worthy!" Before I jumped to my camera and tripod we begin to mix all the ingredients together until the batter forms a ball that sticks together. My son starts to mold little characters out of the dough. J This all happened within 10 minutes. Viola!
            So here we are. No bake chocolate covered sweet and salty sun butter formed into a little bit sized ball! All in a simple treat. Well really, they are good for you. So yes, a treat for your mind, body and the little old spirit!

Ingredients:
1/2 cup sun butter 
1/2 cup almond meal or flour
1 tbsp coconut flour (or coco powder if you don't have any)
2 tbsp honey/maple syrup
1/4 tsp sea salt or less

1 chocolate bar melted 


For unrefined sugar free: 
1/2 cup coco powder + 1 tbsp
4 tbsp of coconut oil (melted)
2 tbsp maple syrup (optional 5 drops of stevia) 


Things you'll need:
mixing bowl, a spoon to mix ingredients, measuring cup and spoons, airtight container, drying rack or parchment paper, double boiler or a home made double boiler-sauce pot and a glass bowl to fit filled with an inch of water. Bowl should not be touching water. Example 

Sunflower butter dough
Mix, sun butter, almond meal, coconut flour and honey/maple syrup together in a mixing bowl until it all sticks together in a ball. Place the dough in the fridge in an airtight container for one hour.

Melting chocolate
Right before you take them out of the fridge, melt the chocolate over a double boiler or a homemade double boiler. break up the bar in pieces and place them in the double boiler or home made double boiler. turn up the heat to low. once the chocolate starts to melt keep stirring until the chocolate is completely melted. Once the chocolate is melted, turn off the and grab your dough.


homemade chocolate
Right before you take them out of the fridge, mix the ingredients in a double boiler or a homemade double boiler. Turn up the heat to low. when the mix is runny turn off the heat and grab you dough.

Grab your sunflower butter dough and make bit size balls.Using a spoon, coat sunflower butter treats with the melted chocolate and place them on a drying rack or parchment paper until the chocolate is set.
Store them in an airtight container in the fridge. 


(homemade chocolate adapted from Chocolate Covered Katie)
Pin It Now!